张登友,张登友的博客,张登友的网站——
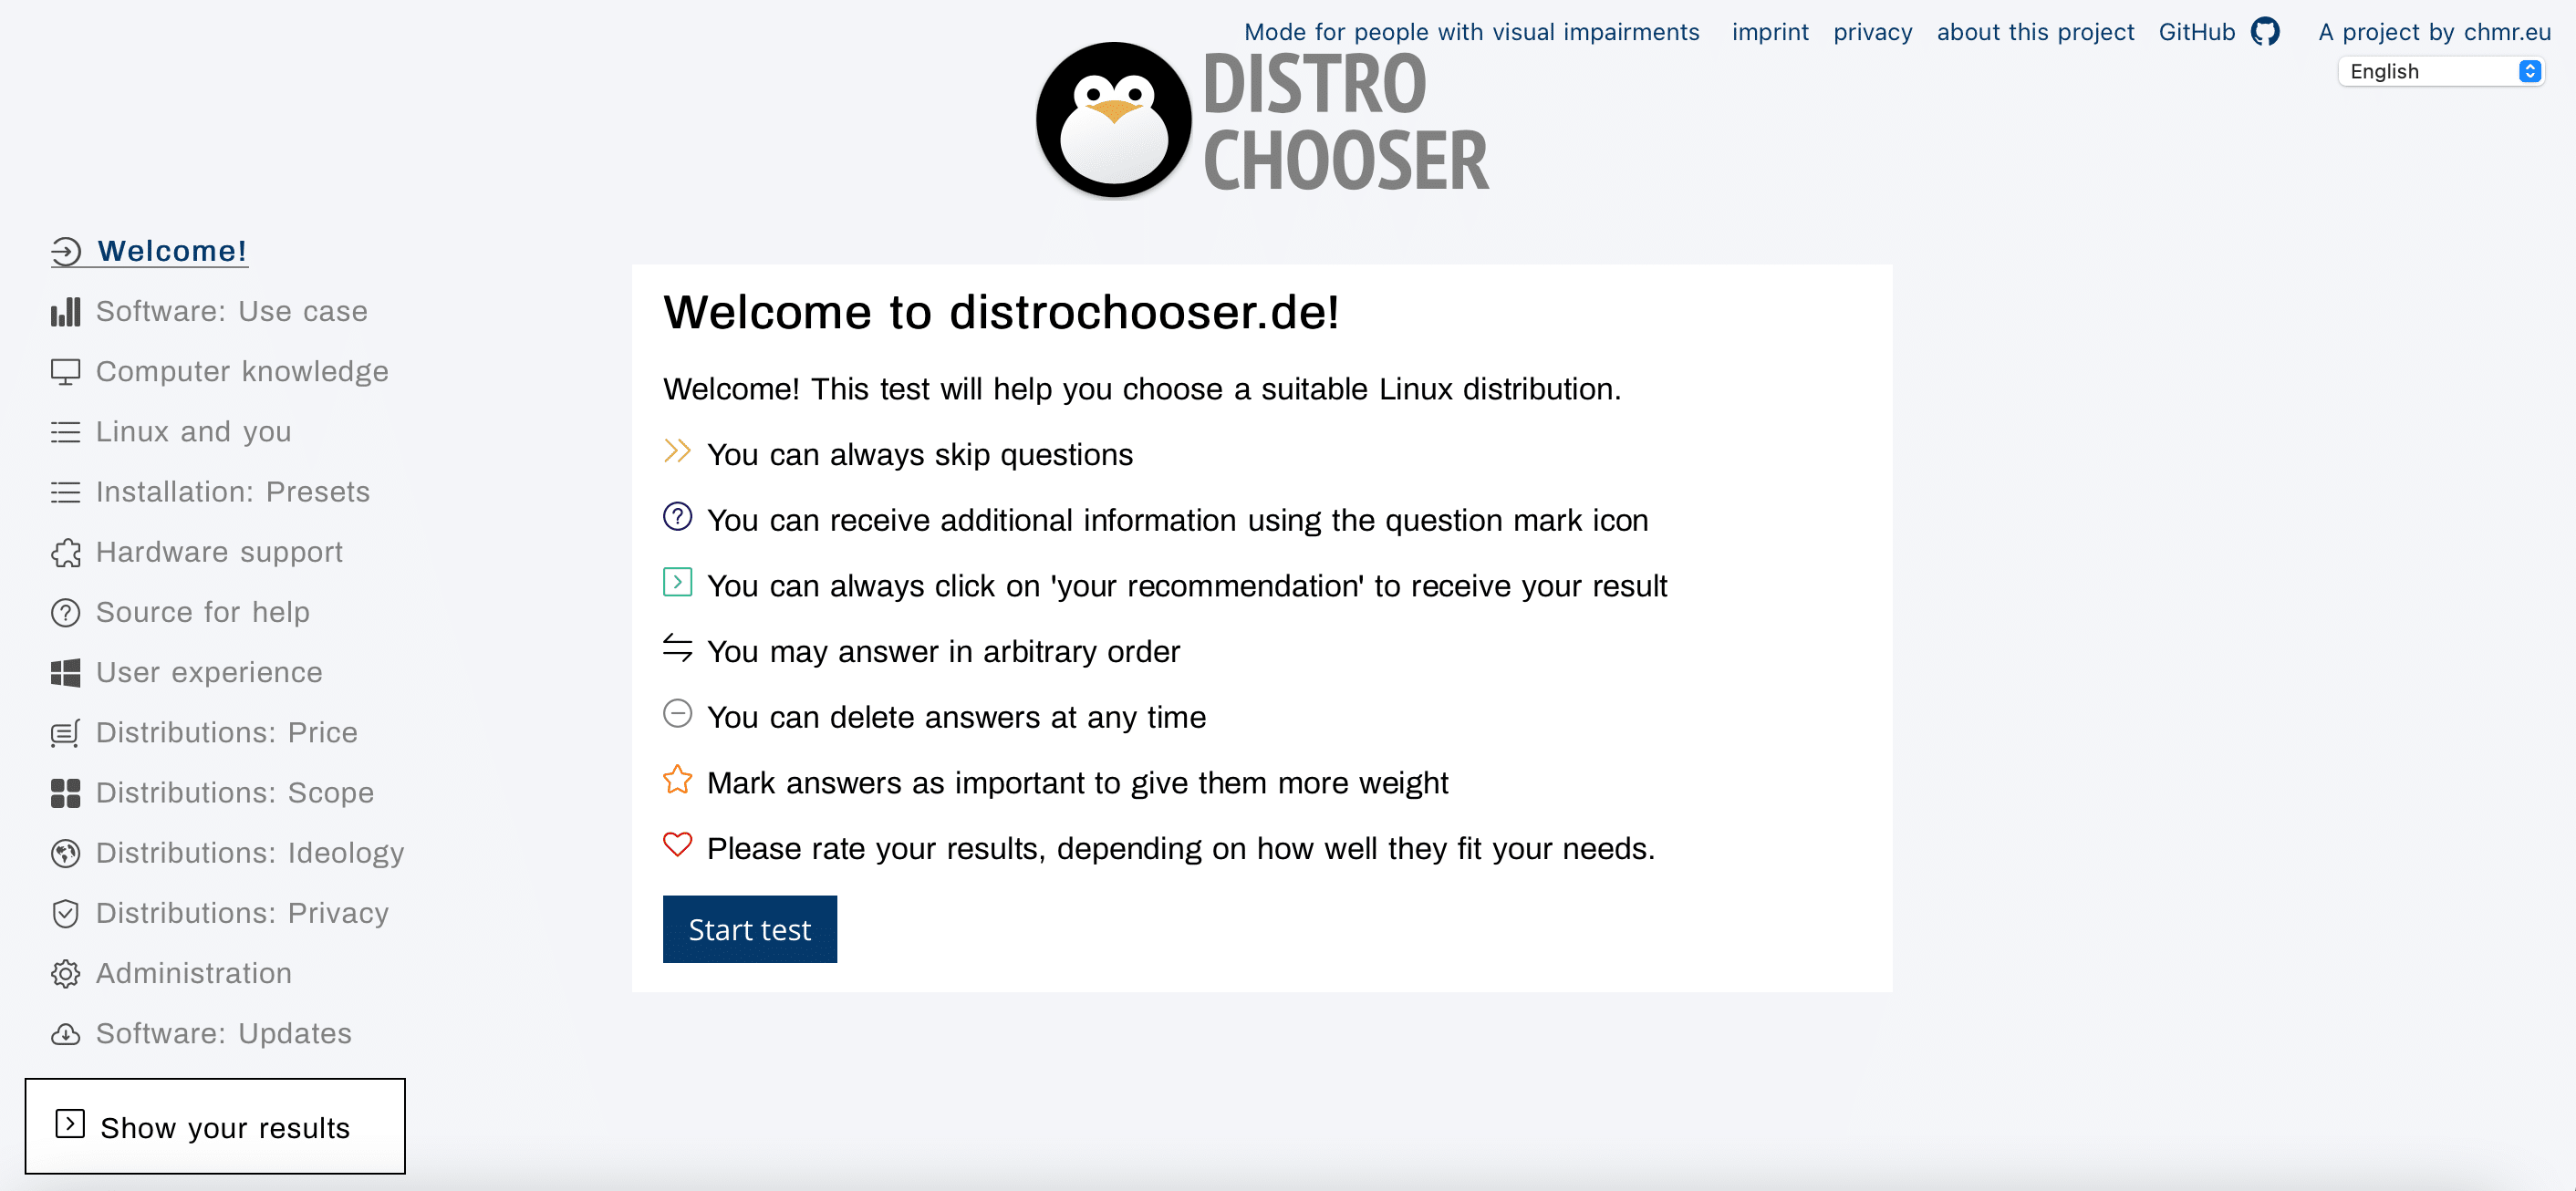
由于CentOS在去年吧宣布要停止更新了, 我这边正好趁着元旦节把原来的服务器重置下, 今天把网站全部迁移到另一个服务器, 今天顺便把系统重置为Debian, 本来想换Ubuntu的, 但是我去查了下资料, Ubuntu虽然适合入门学习, 但是预置了太多用不上的软件包, 然后我就去对比了下, 顺便找了个网站测了下, Debian比较适合我这个小水管服务器, 今天就来尝试看看 测试网址如下 https://distrochooser.de , 您可以根据自己的需求来选择适合的Linux发行版
简介
Debian GNU/Linux ,是一个操作系统及自由软件的发行版,由一群自愿付出时间和精力的用户来维护并更新。它附带了超过 59000 个软件包,这些预先编译好的软件被打包成一种良好的格式以便于用户安装和使用。
官方主页: http://www.debian.org/
下载地址: https://mirrors.aliyun.com/debian/
https://mirrors.aliyun.com/debian-archive/
更换仓库源, 配置方法
debian 7.x (wheezy)
编辑/etc/apt/sources.list文件(需要使用sudo), 在文件最前面添加以下条目(操作前请做好相应备份)
deb http://mirrors.aliyun.com/debian-archive/debian/ wheezy main non-free contrib
deb http://mirrors.aliyun.com/debian-archive/debian/ wheezy-proposed-updates main non-free contrib
deb-src http://mirrors.aliyun.com/debian-archive/debian/ wheezy main non-free contrib
deb-src http://mirrors.aliyun.com/debian-archive/debian/ wheezy-proposed-updates main non-free contrib
debian 8.x (jessie)
编辑/etc/apt/sources.list文件(需要使用sudo), 在文件最前面添加以下条目(操作前请做好相应备份)
deb http://mirrors.aliyun.com/debian/ jessie main non-free contrib
deb http://mirrors.aliyun.com/debian/ jessie-proposed-updates main non-free contrib
deb-src http://mirrors.aliyun.com/debian/ jessie main non-free contrib
deb-src http://mirrors.aliyun.com/debian/ jessie-proposed-updates main non-free contrib
debian 9.x (stretch)
编辑/etc/apt/sources.list文件(需要使用sudo), 在文件最前面添加以下条目(操作前请做好相应备份)
deb http://mirrors.aliyun.com/debian/ stretch main non-free contrib
deb-src http://mirrors.aliyun.com/debian/ stretch main non-free contrib
deb http://mirrors.aliyun.com/debian-security stretch/updates main
deb-src http://mirrors.aliyun.com/debian-security stretch/updates main
deb http://mirrors.aliyun.com/debian/ stretch-updates main non-free contrib
deb-src http://mirrors.aliyun.com/debian/ stretch-updates main non-free contrib
deb http://mirrors.aliyun.com/debian/ stretch-backports main non-free contrib
deb-src http://mirrors.aliyun.com/debian/ stretch-backports main non-free contrib
debian 10.x (buster)
编辑/etc/apt/sources.list文件(需要使用sudo), 在文件最前面添加以下条目(操作前请做好相应备份)
deb http://mirrors.aliyun.com/debian/ buster main non-free contrib
deb-src http://mirrors.aliyun.com/debian/ buster main non-free contrib
deb http://mirrors.aliyun.com/debian-security buster/updates main
deb-src http://mirrors.aliyun.com/debian-security buster/updates main
deb http://mirrors.aliyun.com/debian/ buster-updates main non-free contrib
deb-src http://mirrors.aliyun.com/debian/ buster-updates main non-free contrib
deb http://mirrors.aliyun.com/debian/ buster-backports main non-free contrib
deb-src http://mirrors.aliyun.com/debian/ buster-backports main non-free contrib
debian 11.x (bullseye)
编辑/etc/apt/sources.list文件(需要使用sudo), 在文件最前面添加以下条目(操作前请做好相应备份)
deb http://mirrors.aliyun.com/debian/ bullseye main non-free contrib
deb-src http://mirrors.aliyun.com/debian/ bullseye main non-free contrib
deb http://mirrors.aliyun.com/debian-security/ bullseye-security main
deb-src http://mirrors.aliyun.com/debian-security/ bullseye-security main
deb http://mirrors.aliyun.com/debian/ bullseye-updates main non-free contrib
deb-src http://mirrors.aliyun.com/debian/ bullseye-updates main non-free contrib
deb http://mirrors.aliyun.com/debian/ bullseye-backports main non-free contrib
deb-src http://mirrors.aliyun.com/debian/ bullseye-backports main non-free contrib
相关链接
- 官方主页: http://www.debian.org/
- 邮件列表: http://www.debian.org/support#mail_lists
- Wiki: http://wiki.debian.org/
- 文档: http://www.debian.org/doc/
- 镜像列表: http://www.debian.org/mirror/list
更新 apt 包索引
执行
sudo apt-get update完成后安装常用软件
sudo apt-get install zsh wget curl zip git vim -y 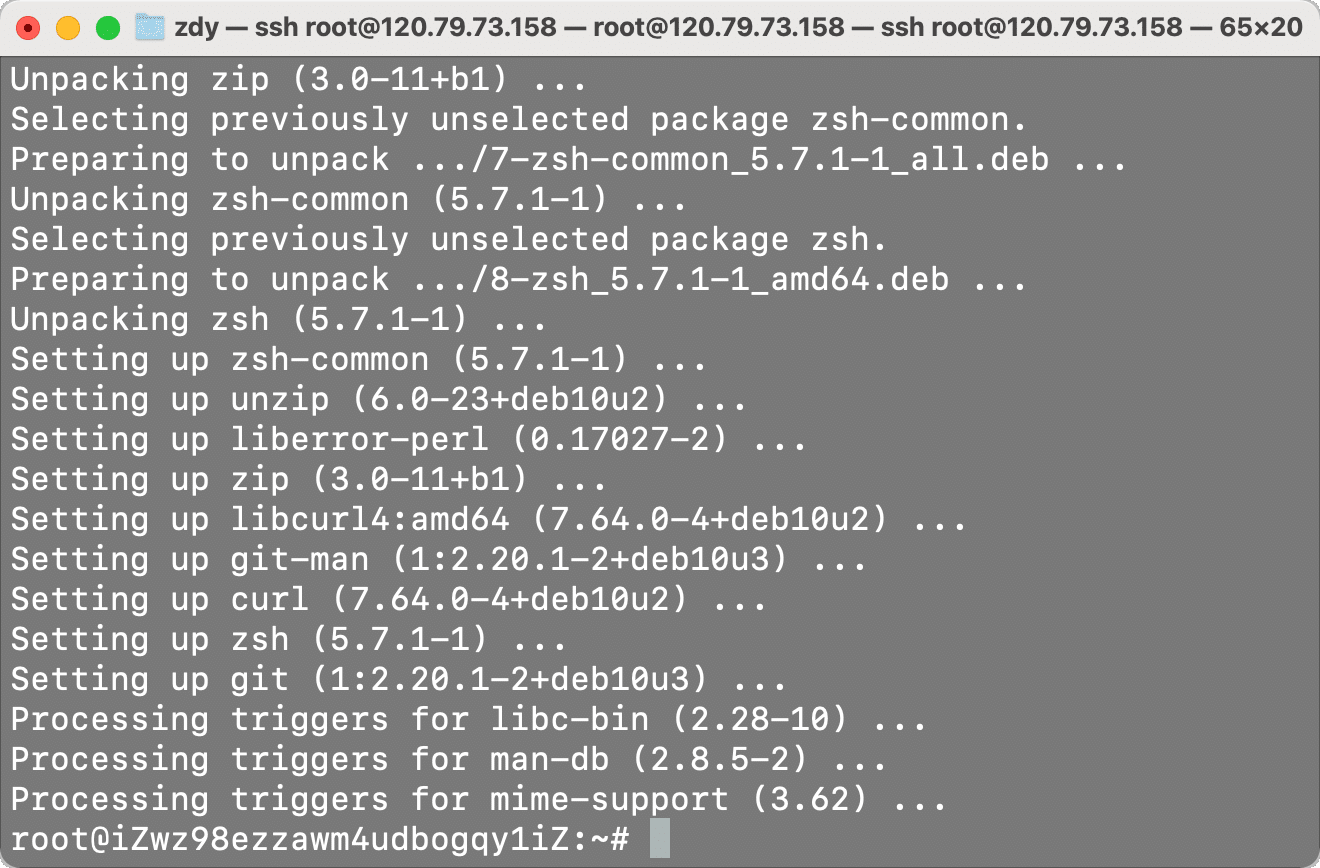
安装ohmyzsh
curl    sh -c "$(curl -fsSL https://raw.githubusercontent.com/ohmyzsh/ohmyzsh/master/tools/install.sh)"
wget    sh -c "$(wget -O- https://raw.githubusercontent.com/ohmyzsh/ohmyzsh/master/tools/install.sh)"
fetch    sh -c "$(fetch -o - https://raw.githubusercontent.com/ohmyzsh/ohmyzsh/master/tools/install.sh)"
由于该域名在国外, 可能因为墙的原因无法成功执行,这时候可以使用这句我改过的命令
git clone https://github.com/ohmyzsh/ohmyzsh.git && ./ohmyzsh/tools/install.sh或者
git https://e.coding.net/zdy/debian_start/ohmyzsh.git && ./ohmyzsh/tools/install.sh
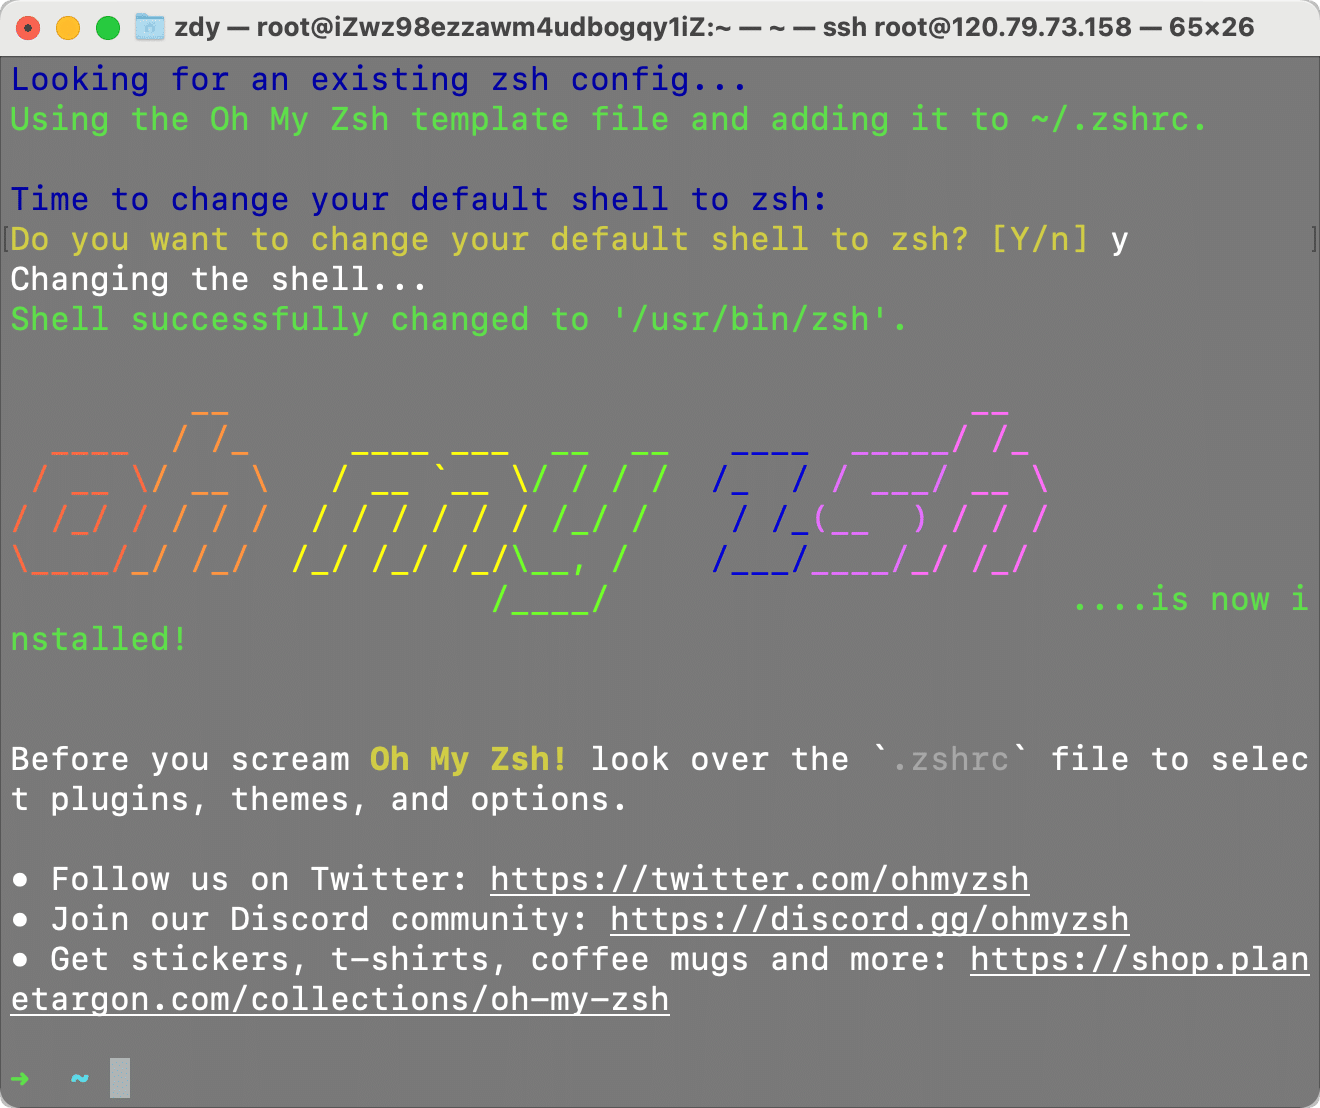
此时已经默认为zsh终端了
修改配置文件
接下来改一个主题, 我最喜欢的主题有pygmalion, ys这两个, 输入大写两个ZZ保存并退出
vim ~/.zshrc #编辑配置文件
ZSH_THEME="pygmalion" #双引号内填写喜欢的主题名称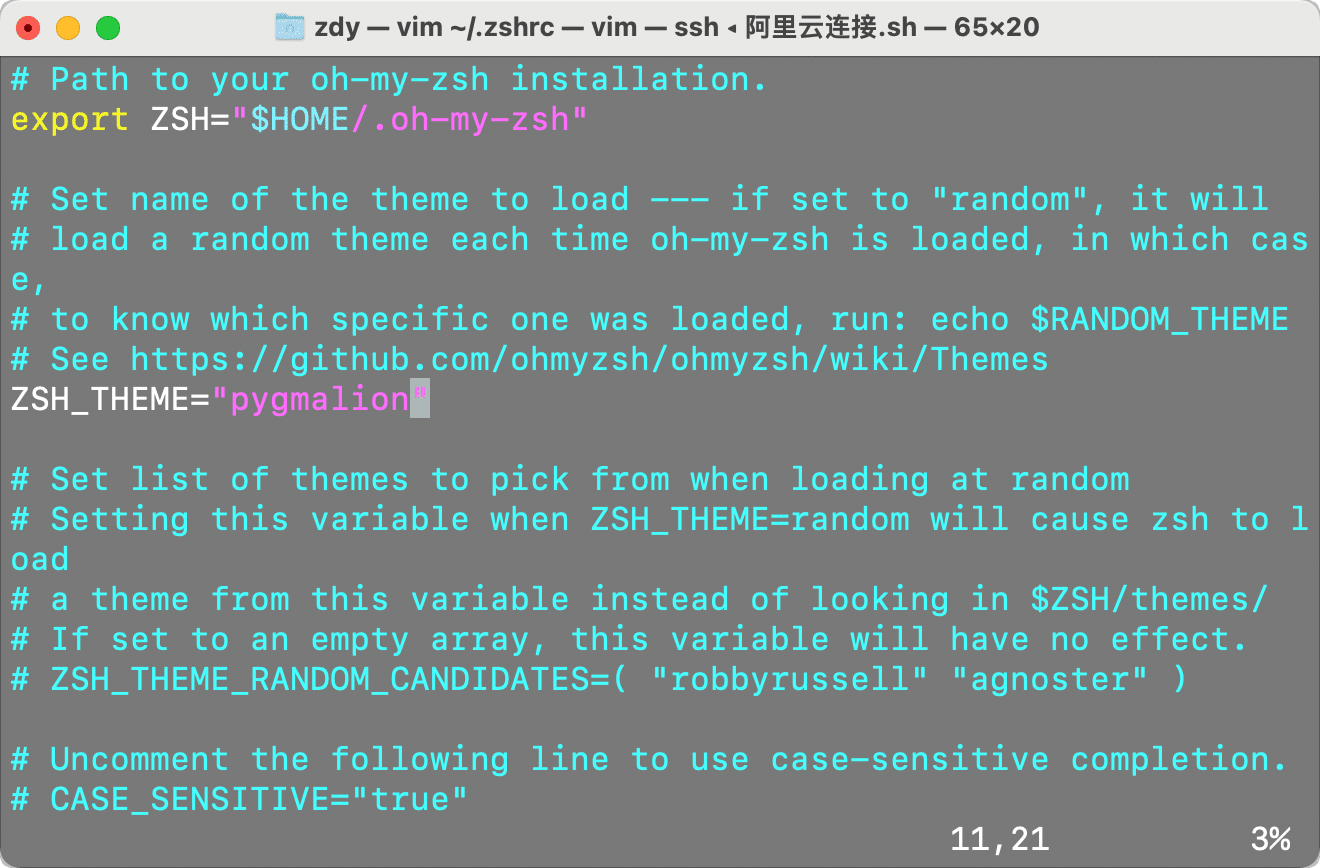
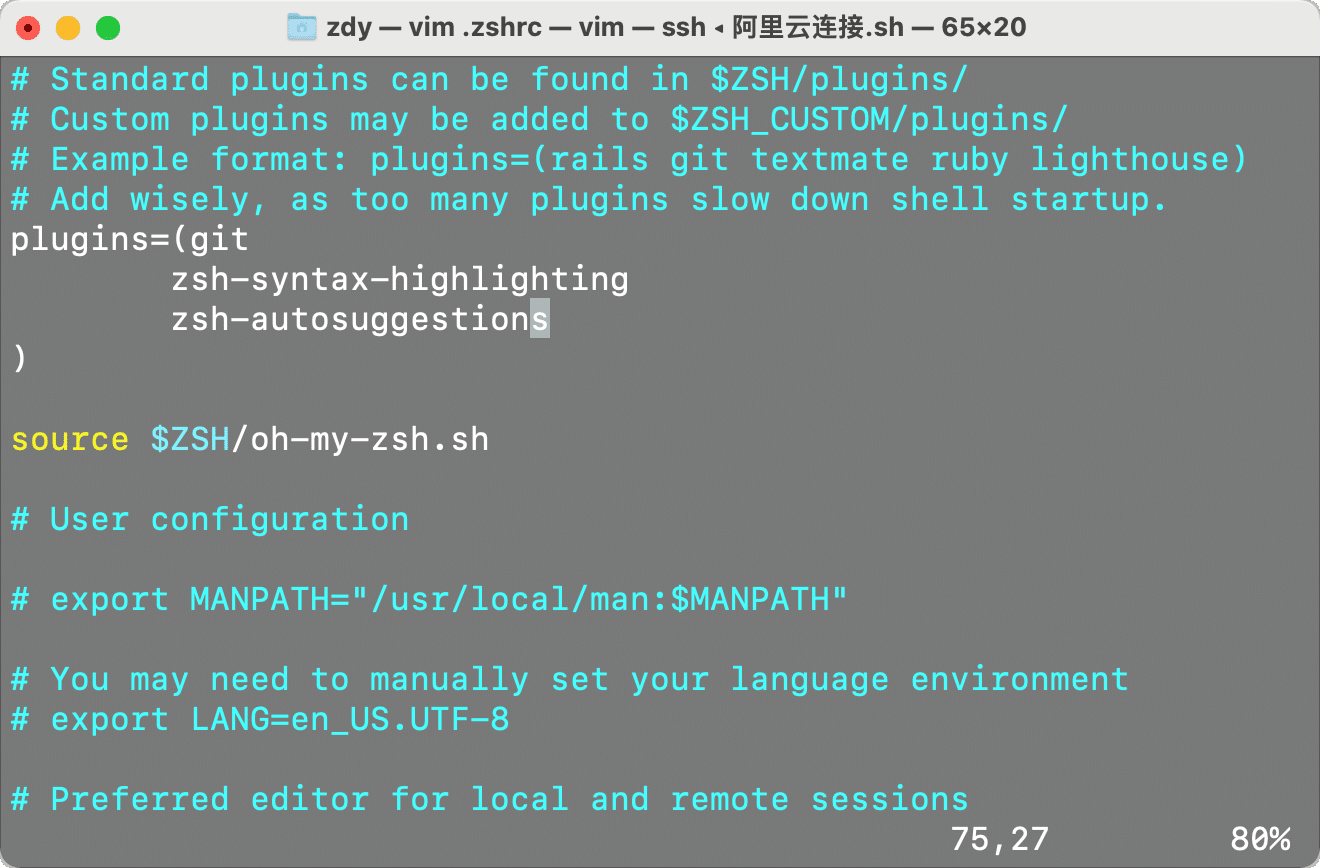
接着安装两个插件
# zsh-syntax-highlighting zsh语法高亮插件
git clone https://e.coding.net/zdy/debian_start/zsh-syntax-highlighting.git ${ZSH_CUSTOM:-~/.oh-my-zsh/custom}/plugins/zsh-syntax-highlighting
# zsh-autosuggestions zsh语法自动提示, 输入历史提示等
git clone https://e.coding.net/zdy/debian_start/zsh-autosuggestions.git ${ZSH_CUSTOM:-~/.oh-my-zsh/custom}/plugins/zsh-autosuggestions
之后修改配置文件, 在plugins后面加入以下两句, 输入大写两个ZZ保存并退出
# .zshrc配置文件
vim ~/.zshrc

# 之后利用vim编辑文件为
plugins=(
        zsh-syntax-highlighting
        zsh-autosuggestions
        )
更新配置文件
最后执行以下命令, 更新下终端配置
source $ZSH/oh-my-zsh.sh
source $ZSH_CUSTOM/plugins/zsh-syntax-highlighting/zsh-syntax-highlighting.zsh
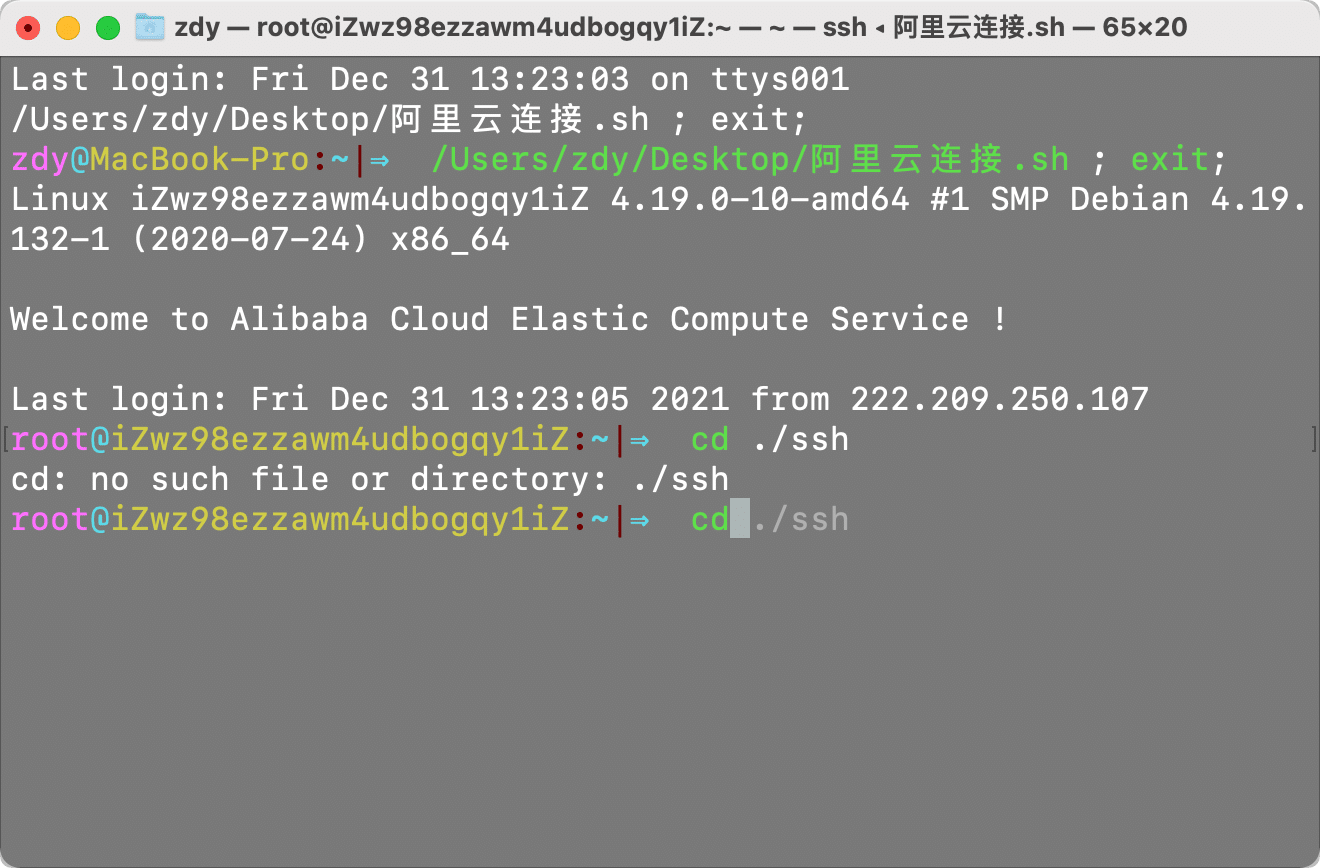
source $ZSH_CUSTOM/plugins/zsh-autosuggestions/zsh-autosuggestions.zsh最终效果如图所示, 已经自带了语法提示和路径提示
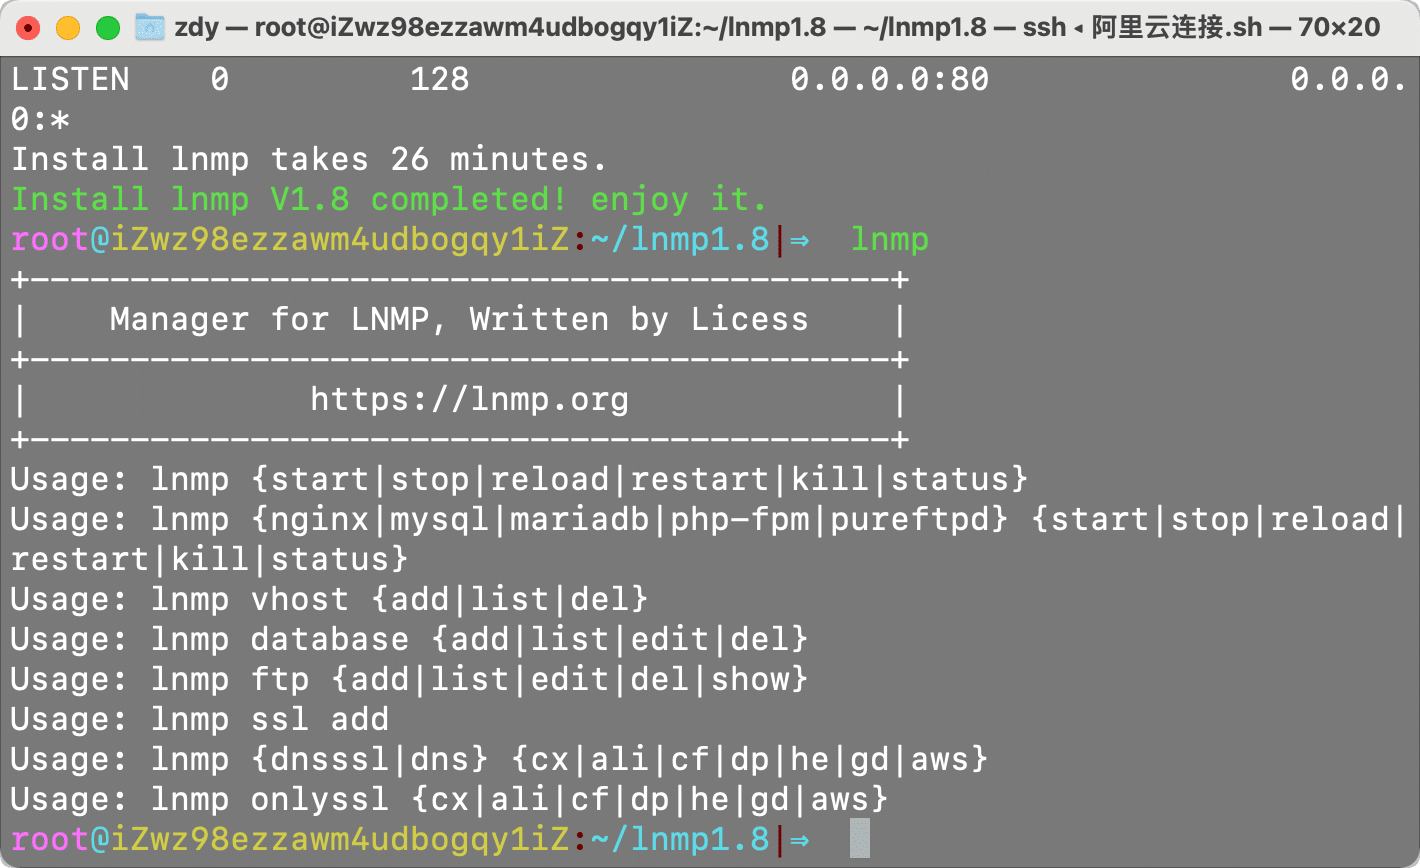
这里使用一个插件可查看系统信息, 到这里系统的基本环境已经安装完毕, 下一章更新Debian安装lnmp环境以及后续的Docker环境
sudo apt install screenfetch #安装软件
screenfetch #执行程序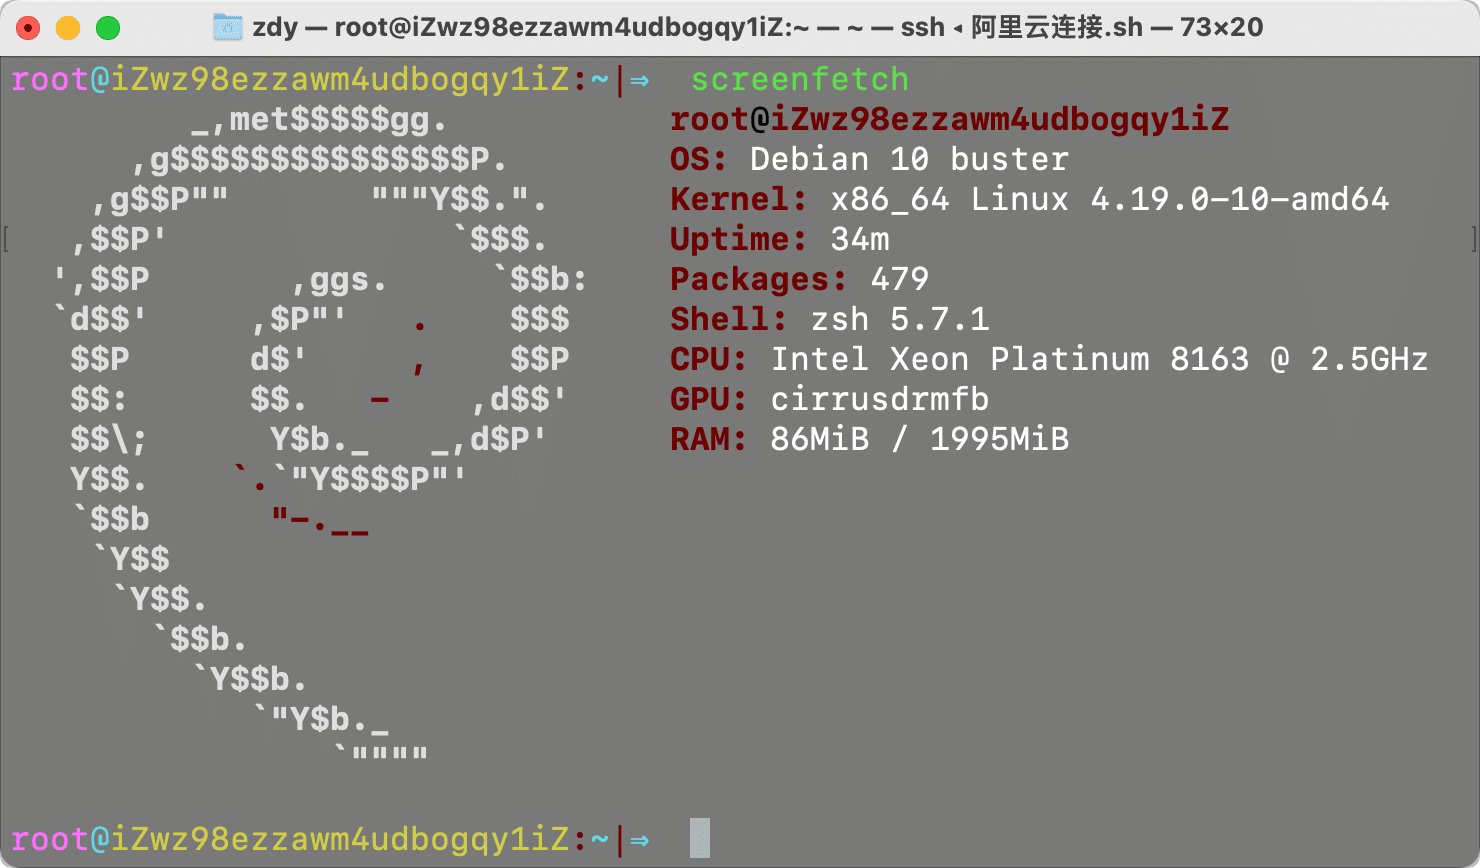
到这里可以在阿里云后台创建一个快照, 防止后期重装系统还要再进行这一步
远程拷贝命令
服务器文件全部备份到了另一台, 现在又使用scp命令再还原回来
介绍
scp是secure copy的简写,是linux系统下基于ssh登陆进行安全的远程文件拷贝命令。linux的scp命令可以在linux服务器之间复制文件和目录。和它类似的命令有cp,不过cp只是在本机进行拷贝不能跨服务器。
当你服务器硬盘变为只读 read only system时,用scp可以帮你把文件移出来。另外,scp还非常不占资源,不会提高多少系统负荷,在这一点上,rsync就远远不及它了。虽然 rsync比scp会快一点,但当小文件众多的情况下,rsync会导致硬盘I/O非常高,而scp基本不影响系统正常使用。
说明:当两台LINUX主机之间要互传文件时可使用SCP命令来实现,建立信任关系之后可不输入密码。
命令格式:
scp [参数] [原路径] [目标路径]
scp 本地用户名 @IP 地址 : 文件名 1 远程用户名 @IP 地址 : 文件名 2
命令参数:
-1 强制scp命令使用协议ssh1
-2 强制scp命令使用协议ssh2
-4 强制scp命令只使用IPv4寻址
-6 强制scp命令只使用IPv6寻址
-B 使用批处理模式(传输过程中不询问传输口令或短语)
-C 允许压缩。(将-C标志传递给ssh,从而打开压缩功能)
-p 保留原文件的修改时间,访问时间和访问权限。
-q 不显示传输进度条。
-r 递归复制整个目录。
-v 详细方式显示输出。scp和ssh(1)会显示出整个过程的调试信息。这些信息用于调试连接,验证和配置问题。
-c cipher 以cipher将数据传输进行加密,这个选项将直接传递给ssh。
-F ssh_config 指定一个替代的ssh配置文件,此参数直接传递给ssh。
-i identity_file 从指定文件中读取传输时使用的密钥文件,此参数直接传递给ssh。
-l limit 限定用户所能使用的带宽,以Kbit/s为单位。
-o ssh_option 如果习惯于使用ssh_config(5)中的参数传递方式,
-P port 注意是大写的P, port是指定数据传输用到的端口号
-S program 指定加密传输时所使用的程序。此程序必须能够理解ssh(1)的选项。
使用方法:
1、将本地服务器的文件传送到远程服务器。
命令格式:
scp local_file remote_username@remote_ip:remote_folder
或者
scp local_file remote_username@remote_ip:remote_file
或者
scp local_file remote_ip:remote_folder
或者
scp local_file remote_ip:remote_file
第1,2个指定了用户名,命令执行后需要输入用户密码,第1个仅指定了远程的目录,文件名字不变,第2个指定了文件名
第3,4个没有指定用户名,命令执行后需要输入用户名和密码,第3个仅指定了远程的目录,文件名字不变,第4个指定了文件名
2、将本地服务器的目录传送到远程服务器。
命令格式:
scp -r local_folder remote_username@remote_ip:remote_folder
或者
scp -r local_folder remote_ip:remote_folder
第1个指定了用户名,命令执行后需要输入用户密码;
第2个没有指定用户名,命令执行后需要输入用户名和密码;