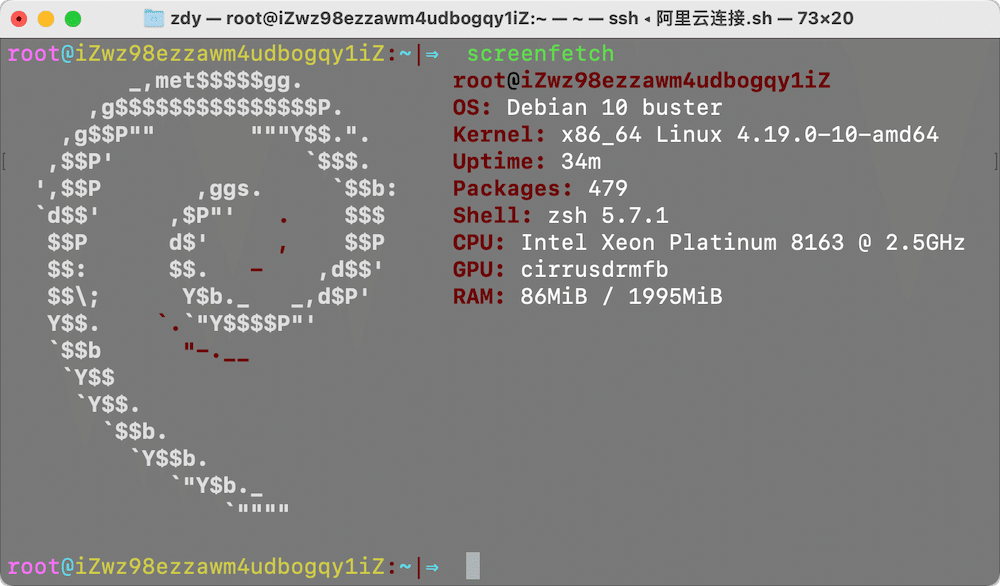
上一篇初始化完 Debian 系统之后, 接下来安装服务器的 lnmp 环境和 Docker, 安装前确认已经安装wget命令 ,
获取一键安装脚本
1、无人值守安装脚本:
可以根据自己的需要来选择进行安装, 获取网址 https://lnmp.org/auto.html
无人值守命令生成工具:https://lnmp.org/auto.html
- 设置如下环境变量即可完全无人值守安装
| 变量名 | 变量值含义 |
|---|---|
| LNMP_Auto | 启用无人值守自动安装 |
| DBSelect | 数据库版本序号 |
| DB_Root_Password | 数据库 root 密码(不可为空),不安装数据库时可不加该参数 |
| InstallInnodb | 是否安装 Innodb 引擎,y 或 n ,不安装数据库时可不加该参数 |
| PHPSelect | PHP 版本序号 |
| SelectMalloc | 内存分配器版本序号 |
| ApacheSelect | Apache 版本序号,仅 LNMPA 和 LAMP 模式需添加该参数 |
| ServerAdmin | 管理员邮箱,仅 LNMPA 和 LAMP 模式需添加该参数 |
| RHELRepo | (非必选)设为 local 时,RHEL 使用本地源,不设置源为 163 centos 源 |
| CheckMirror | (非必选)安装时不检查下载镜像,方便无网络安装 |
2、直接安装稳定版
wget http://soft.vpser.net/lnmp/lnmp1.8.tar.gz -cO lnmp1.8.tar.gz && tar zxf lnmp1.8.tar.gz && cd lnmp1.8 && ./install.sh lnmp执行之后需要等待 20-30 分钟左右, 即可完成安装

lnmp 的使用
状态管理
- LNMP/LNMPA/LMAP 状态管理:
lnmp {start|stop|reload|restart|kill|status} - Nginx 状态管理:
lnmp nginx或/etc/init.d/nginx {start|stop|reload|restart} - MySQL 状态管理:
lnmp mysql或/etc/init.d/mysql {start|stop|restart|reload|force-reload|status} - MariaDB 状态管理:
lnmp mariadb或/etc/init.d/mariadb {start|stop|restart|reload|force-reload|status} - PHP-FPM 状态管理:
lnmp php-fpm或/etc/init.d/php-fpm {start|stop|quit|restart|reload|logrotate} - PureFTPd 状态管理:
lnmp pureftpd或/etc/init.d/pureftpd {start|stop|restart|kill|status} - Apache 状态管理:
lnmp httpd或/etc/init.d/httpd {start|stop|restart|graceful|graceful-stop|configtest|status}
虚拟主机管理
- 添加:
lnmp vhost add - 删除:
lnmp vhost del - 列出:
lnmp vhost list - 数据库管理:
lnmp database {add|list|edit|del} - FTP 用户管理:
lnmp ftp {add|list|edit|del|show} - SSL 添加:
lnmp ssl add - 通配符/泛域名 SSL 添加:
lnmp dnsssl {cx|ali|cf|dp|he|gd|aws}需依赖域名 dns api
相关图形界面
- PHPMyAdmin:http://yourIP/phpmyadmin/
- phpinfo:http://yourIP/phpinfo.php
- PHP 探针:http://yourIP/p.php
- Xcache 管理界面:http://yourIP/xcache/
- Zend Opcache 管理界面:http://yourIP/ocp.php
- apcu 管理界面:http://yourIP/apc.php
LNMP 相关目录文件
目录位置
- Nginx:/usr/local/nginx/
- MySQL:/usr/local/mysql/
- MariaDB:/usr/local/mariadb/
- PHP:/usr/local/php/
- 多 PHP 目录:/usr/local/php5.6/ 版本号随安装版本不同而不同
- PHP 扩展插件配置文件目录:/usr/local/php/conf.d/
- PHPMyAdmin:/home/wwwroot/default/phpmyadmin/
- 默认虚拟主机网站目录:/home/wwwroot/default/
- Nginx 日志目录:/home/wwwlogs/
配置文件:
- Nginx 主配置文件:/usr/local/nginx/conf/nginx.conf
- MySQL/MariaDB 配置文件:/etc/my.cnf
- PHP 配置文件:/usr/local/php/etc/php.ini
- PHP-FPM 配置文件:/usr/local/php/etc/php-fpm.conf
- PureFtpd 配置文件:/usr/local/pureftpd/etc/pure-ftpd.conf
- Apache 配置文件:/usr/local/apache/conf/httpd.conf
lnmp.conf 配置文件参数说明
| 参数名称 | 参数介绍 | 例子 |
|---|---|---|
| Download_Mirror | 下载镜像 | 一般默认,如异常可修改下载镜像 |
| Nginx_Modules_Options | 添加 Nginx 模块或其他编译参数 | –add-module=/第三方模块源码目录 |
| PHP_Modules_Options | 添加 PHP 模块或编译参数 | –enable-exif 有些模块需提前安装好依赖包 |
| MySQL_Data_Dir | MySQL 数据库目录设置 | 默认/usr/local/mysql/var |
| MariaDB_Data_Dir | MariaDB 数据库目录设置 | 默认/usr/local/mariadb/var |
| Default_Website_Dir | 默认虚拟主机网站目录位置 | 默认/home/wwwroot/default |
| Enable_Nginx_Openssl | Nginx 是否使用新版 openssl | 默认 y,建议不修改,y 是启用并开启到 http2 |
| Enable_PHP_Fileinfo | 是否安装开启 php 的 fileinfo 模块 | 默认 n,根据自己情况而定,安装启用的话改成 y |
| Enable_Nginx_Lua | 是否为 Nginx 安装 lua 支持 | 默认 n,安装 lua 可以使用一些基于 lua 的 waf 网站防火墙 |
| Enable_Swap | 是否添加 SWAP | 默认 y,当内存不足时可提高编译安装成功概率 |
测试添加网站
lnmp vhost add 网站名(随意)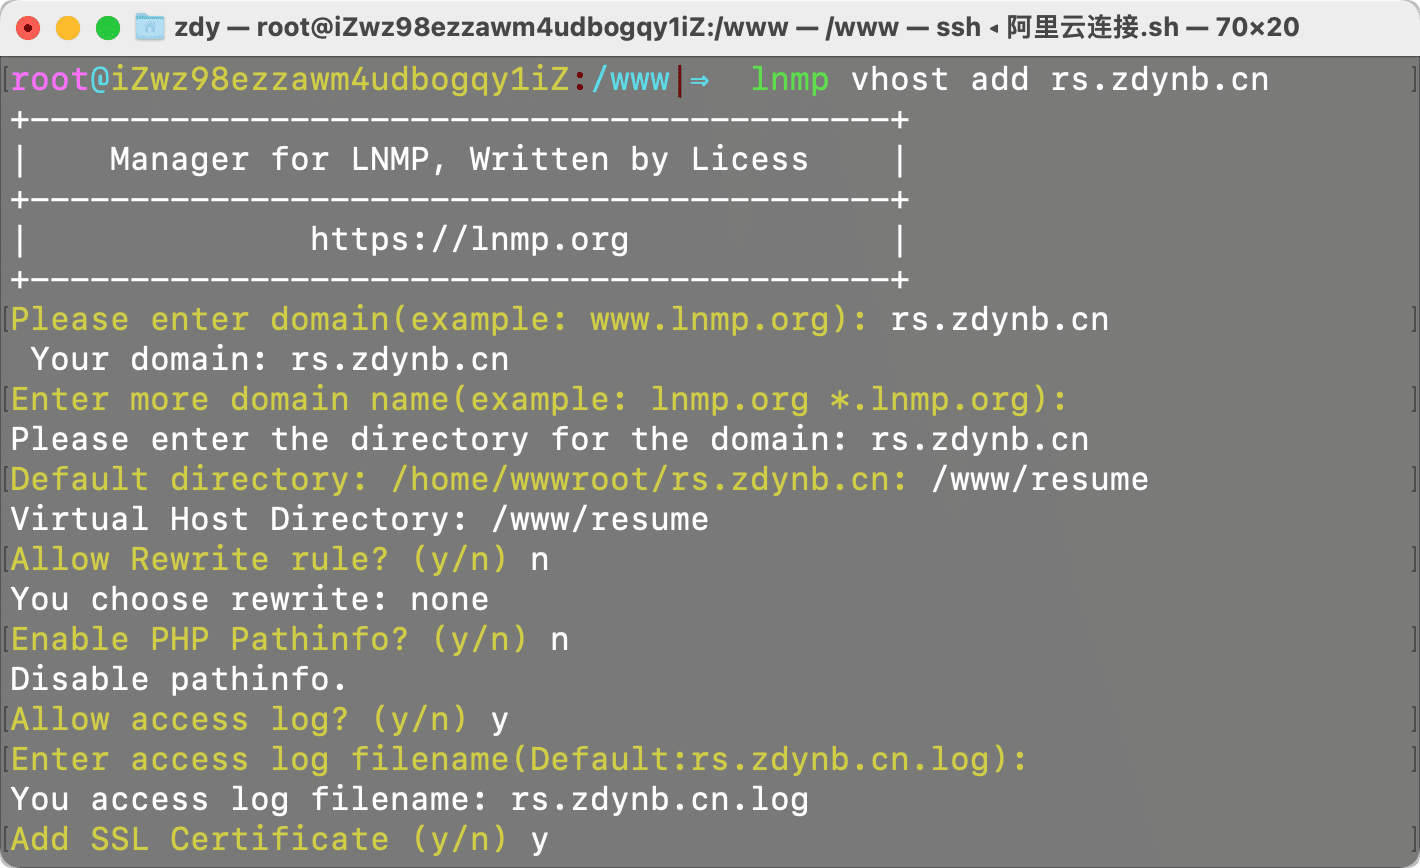
这里我默认选择了添加 Let’sEncrypt 证书, 但是还需要添加 301 重定向强制网站进行 https 访问
这一部分不适合Let'sEncrypt用户
LNMP 下的 Nginx 如果想将域名 zdynb.cn 301 重定向到 www.zdynb.cn,同时 www.zdynb.cn 已经添加上,可以按如下步骤修改 使用命令编辑器vi、nano或winscp 图形管理软件编辑对应的虚拟主机,一般虚拟主机配置文件位于:/usr/local/nginx/conf/vhost/域名.conf ,如添加的域名是 www.zdynb.cn 则配置文件是/usr/local/nginx/conf/vhost/www.zdynb.cn.conf 在配置文件代码如下:
zdynb.cn 301 跳转到 www.zdynb.cn 示例配置如下:
省略www.zdynb.cn虚拟主机server配置
server {
listen 80;
server_name zdynb.cn;
return 301 http://www.zdynb.cn$request_uri;
}
http 强制跳转到 https,把里面的 http 换成 https 就行。
http 站点 301 跳转到 https 站点示例配置如下:
server {
listen 443 ssl;
server_name www.zdynb.cn;
省略其他配置
}
server {
listen 80;
server_name zdynb.cn;
return 301 https://www.zdynb.cn$request_uri;
}
按上面例子修改完成后保存,执行:/etc/init.d/nginx restart 重启 nginx,使其生效。
该设置不适用于 Let’sEncrypt 及其他需要 http 验证的 SSL 证书;如果使用 DNS API 方式可以使用这种设置方法。
如果是想让https://zdynb.cn强制跳转到https://www.zdynb.cn
可以在 https 的虚拟主机配置文件中 root 行或 server_name 行下面添加上
if ($host = 'zdynb.cn') {
  return 301 https://www.zdynb.cn$request_uri;
}
如果使用 Let’sEncrypt 免费 SSL 证书
使用的 Let’s Encrypt 的免费证书且使用 http 验证方式生成的 SSL 证书,如果你要想设置 301,编辑要设置 301 域名的 nginx 虚拟主机配置文件,找到包含有 listen 80;的 server 段,在
location ~ /.well-known {
    allow all;
}
这几行下面添加,如下配置:
    location / {
        return 301 https://$host$request_uri;
}
保存,如果不设置会导致证书无法正常续期。
完整的适用于 Let’sEncrypt 的 301 跳转配置文件如下:
server
    {
        listen 80;
        #listen [::]:80;
        server_name zdynb.cn www.zdynb.cn;
        index index.html index.htm index.php default.html default.htm default.php;
        root  /www/zdynb.cn;

        location ~ /.well-known {
            allow all;
        }

        location / {
            return 301 https://$host$request_uri;
        }
    }
注意:以上所有更改 nginx 的配置都需要重启 ngin 生效。
快速创建 nginx 配置文件
#!/bin/bash
echo 输入域名:
read name
echo 输入代理端口:
read port
cd /usr/local/nginx/conf/vhost && touch $name.conf && chmod 0644 $name.conf
cat >$name.conf <<EOF
server {
    listen 80;
    #listen [::]:80;
    server_name $name;
    return 301 https://$name\$request_uri; #301强制https,不通过http访问
    #error_page   404   /404.html;

    location ~ .*\.(gif|jpg|jpeg|png|bmp|swf)\$ {
        expires 30d;
        #解决反向代理无法访问图片
        proxy_pass http://127.0.0.1:$port;
        proxy_set_header Host \$host;
        proxy_set_header X-Real-IP \$remote_addr;
        proxy_set_header X-Forwarded-For \$proxy_add_x_forwarded_for;
    }

    location ~ .*\.(js|css)?\$ {
        expires 12h;
        # 解决反向代理无法js/css
        proxy_pass http://127.0.0.1:$port;
        proxy_set_header Host \$host;
        proxy_set_header X-Real-IP \$remote_addr;
        proxy_set_header X-Forwarded-For \$proxy_add_x_forwarded_for;
    }

    location ~ /.well-known {
        allow all;
    }

    location ~ /\. {
        deny all;
    }
    location / {
        # 此处为let\`s encrypt自动续签必须添加的配置
        return 301 https://$name\$request_uri;
        # 反向代理
        proxy_pass http://localhost:$port;
        proxy_set_header Host \$host:\$server_port;
        proxy_set_header X-NginX-Proxy true;
        proxy_set_header X-Real-IP \$remote_addr;
        proxy_set_header X-Forwarded-For \$proxy_add_x_forwarded_for;
        proxy_set_header X-Forwarded-Proto \$scheme;
        proxy_set_header REMOTE-HOST \$remote_addr;

        # 缓存
        add_header X-Cache \$upstream_cache_status;
        add_header Cache-Control no-cache;
        expires 12h;
    }
    access_log off;
}

server {
    listen 443 ssl http2;
    #listen [::]:443 ssl http2;
    server_name $name;

    location ~ .*\.(gif|jpg|jpeg|png|bmp|swf)\$ {
        expires 30d;
        #解决反向代理无法访问图片
        proxy_pass http://127.0.0.1:$port;
        proxy_set_header Host \$host;
        proxy_set_header X-Real-IP \$remote_addr;
        proxy_set_header X-Forwarded-For \$proxy_add_x_forwarded_for;
    }

    location ~ .*\.(js|css)?\$ {
        expires 12h;
        # 解决反向代理无法js/css
        proxy_pass http://127.0.0.1:$port;
        proxy_set_header Host \$host;
        proxy_set_header X-Real-IP \$remote_addr;
        proxy_set_header X-Forwarded-For \$proxy_add_x_forwarded_for;
    }

    location ~ /.well-known {
        allow all;
    }

    location ~ /\. {
        deny all;
    }
    location / {
        # 反向代理
        proxy_pass http://localhost:$port;
        proxy_set_header Host \$host:\$server_port;
        proxy_set_header X-NginX-Proxy true;
        proxy_set_header X-Real-IP \$remote_addr;
        proxy_set_header X-Forwarded-For \$proxy_add_x_forwarded_for;
        proxy_set_header X-Forwarded-Proto \$scheme;
        proxy_set_header REMOTE-HOST \$remote_addr;

        # 缓存
        add_header X-Cache \$upstream_cache_status;
        add_header Cache-Control no-cache;
        expires 12h;
    }
    access_log off;
}
EOF
echo "创建$name.conf成功!!!"
echo "正在重启nginx服务!!!"
nginx -s reload
安装 Docker
安装命令如下:
curl -fsSL https://get.docker.com | bash -s docker --mirror Aliyun也可以使用国内 daocloud 一键安装命令:
curl -sSL https://get.daocloud.io/docker | sh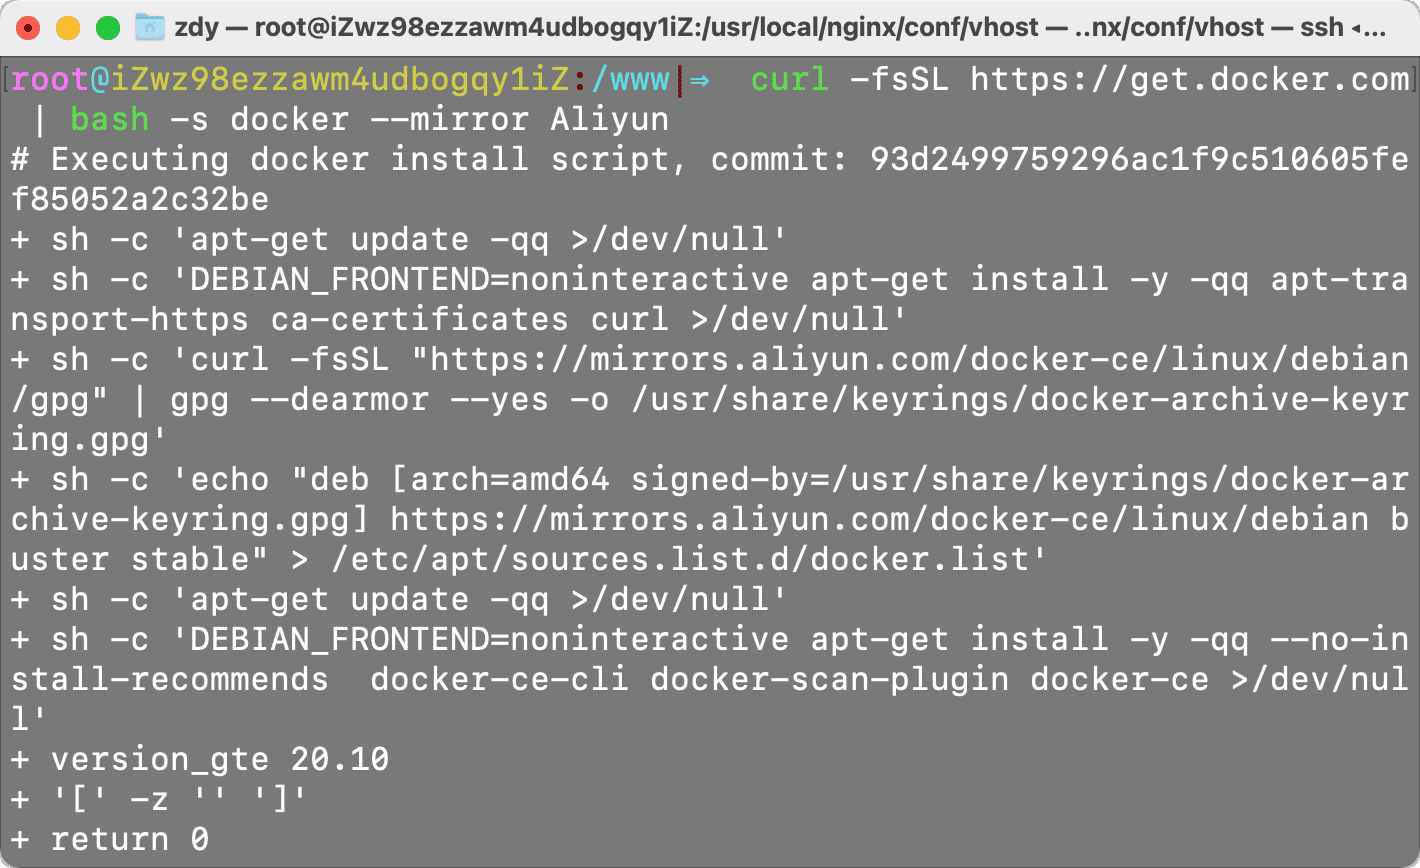
查看版本
docker version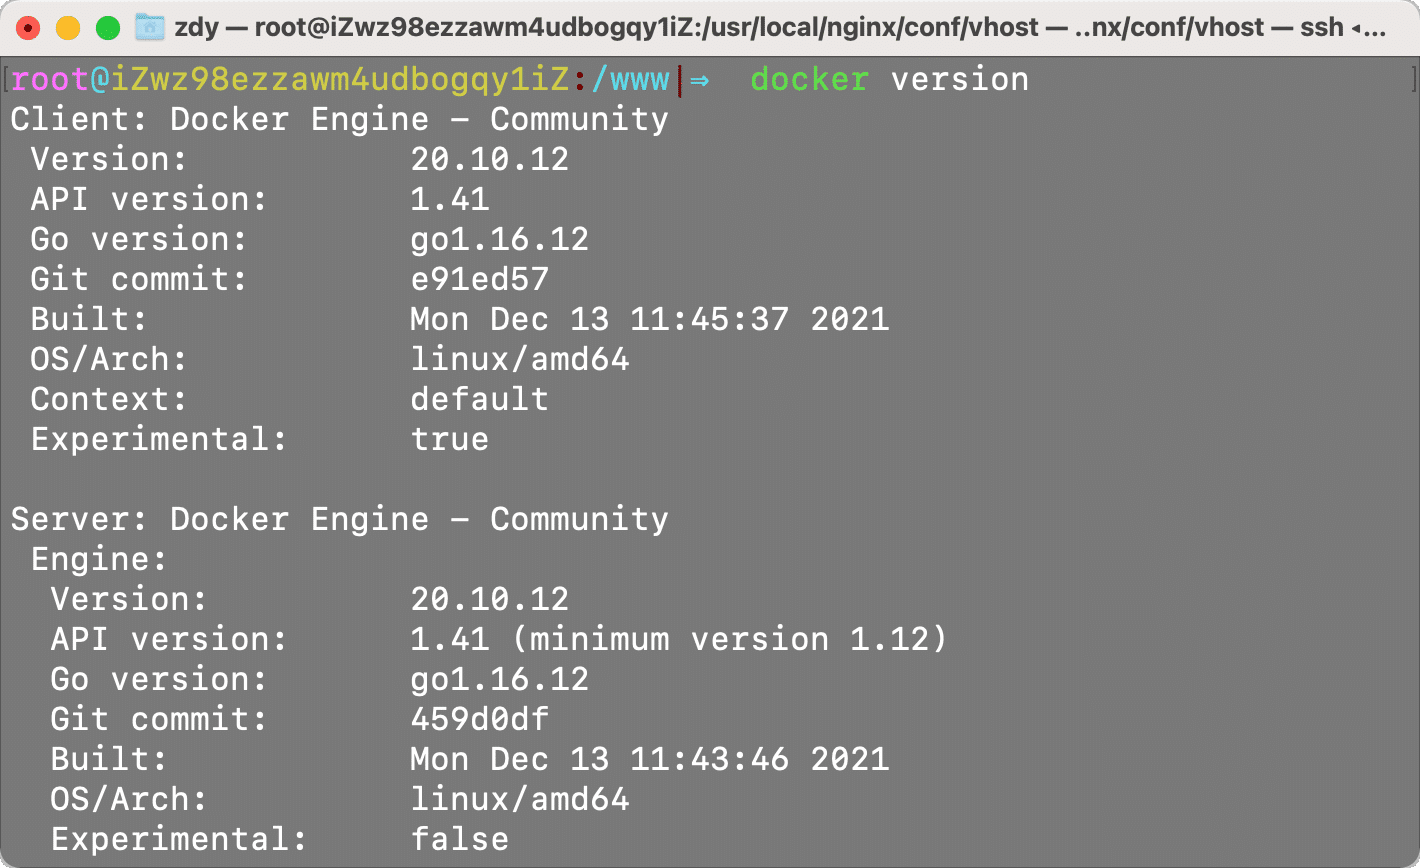
拉取 MySQL 镜像
这里不使用物理环境的 mysql, 使用 docker 的隔离环境, 虽然有点非主流
docker pull mysql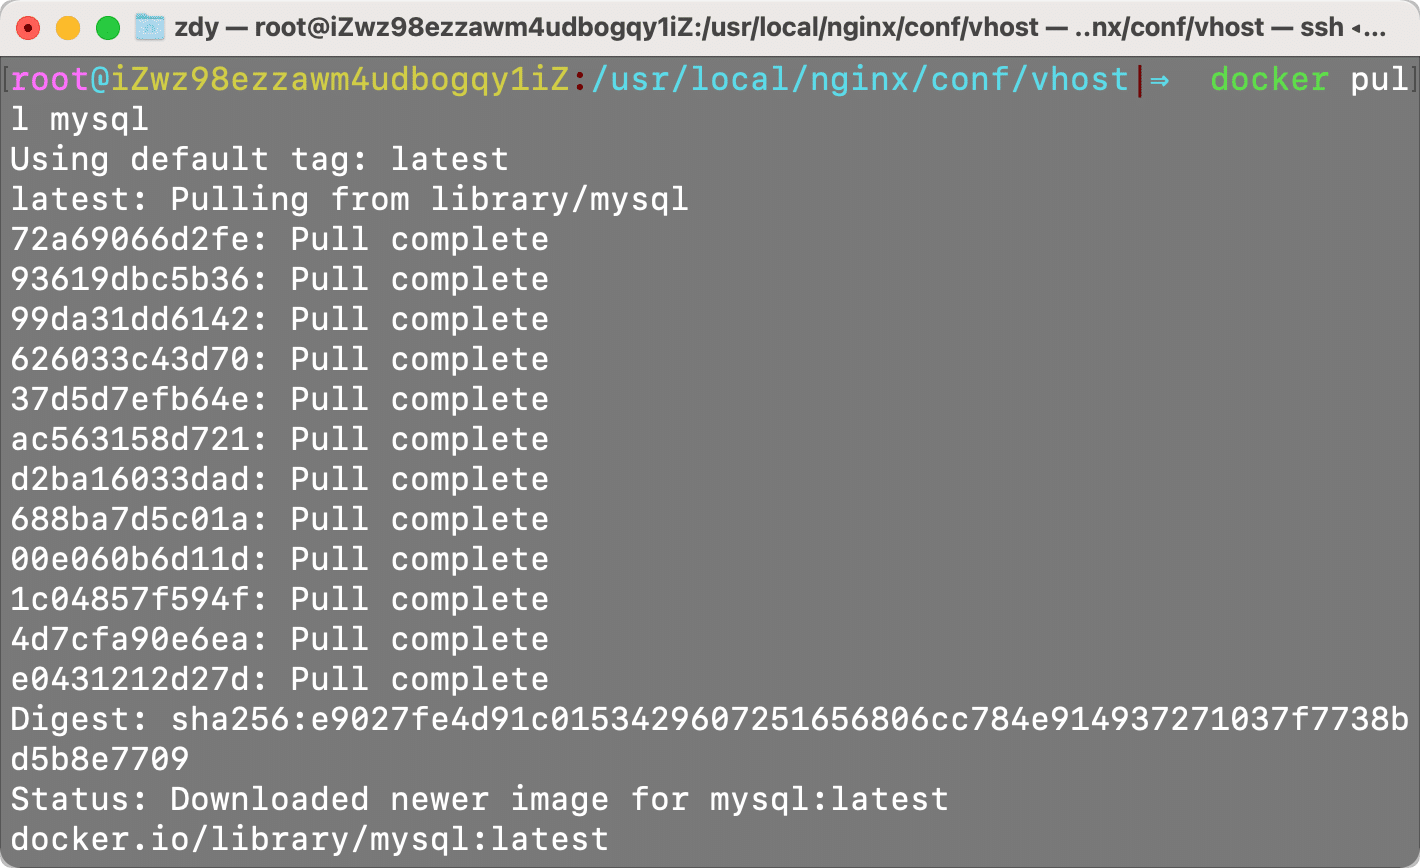
启动 docker 中的 mysql
docker run -p 3306:3306 --name mysql \
-e TZ=Asia/Shanghai \
-v /www/mydocker/mysql/conf:/etc/mysql/conf.d \
-v /www/mydocker/mysql/logs:/var/log/mysql \
-v /www/mydocker/mysql/data:/var/lib/mysql \
-e MYSQL_ROOT_PASSWORD=3.1415926 \
-d mysql --character-set-server=utf8mb4 --collation-server=utf8mb4_unicode_ci
设置开机启动
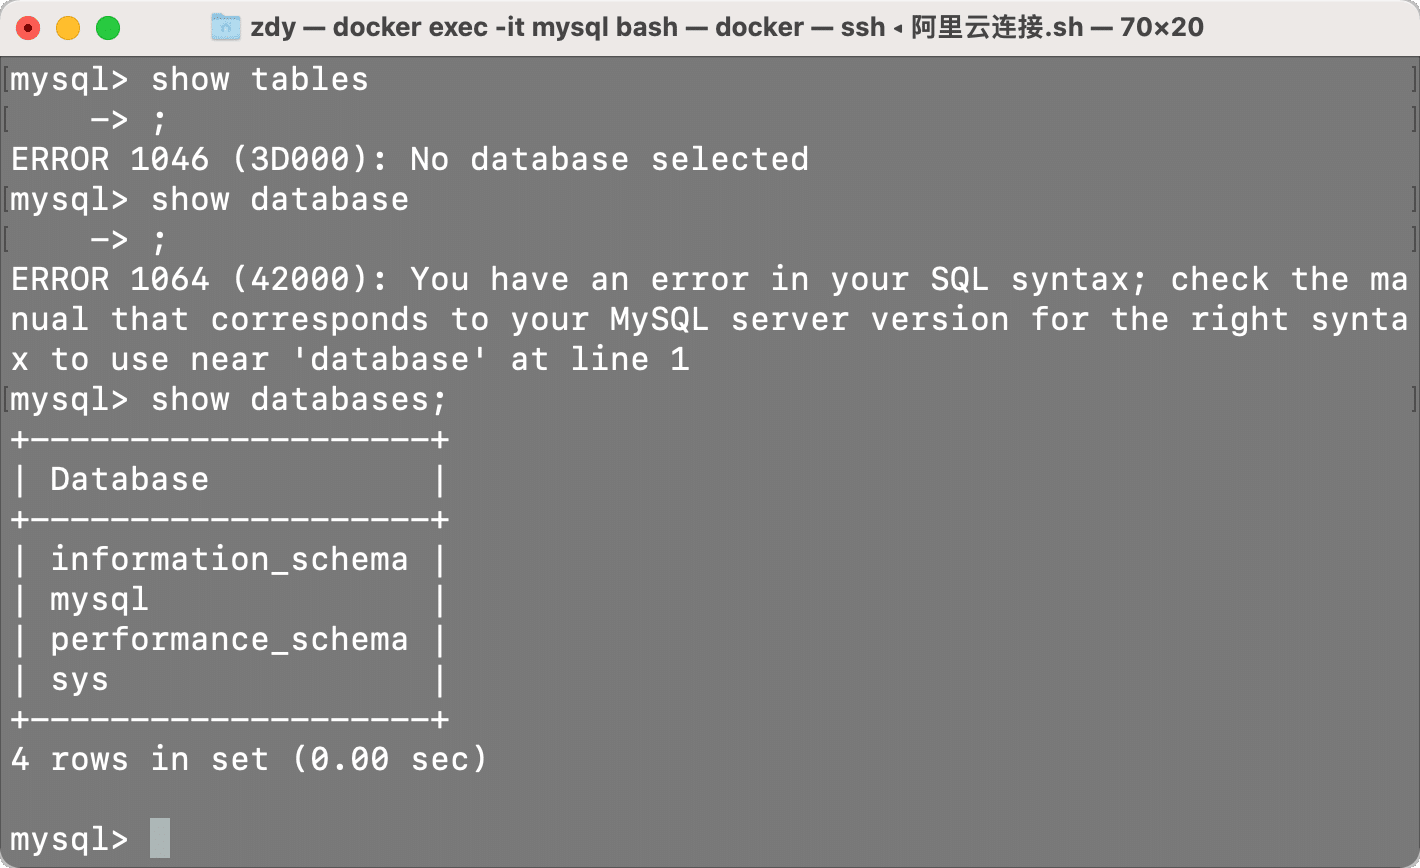
docker update mysql --restart=always测试数据库
进入 docker 中的 mysql 命令行, 因为是新的数据库, 所以这里只有默认的几个(这里命令记混了, 哈哈哈,提示未选择数据库)
docker exec -it mysql bash #进入交互界面
mysql -u 数据库用户名 -p #进入数据库命令行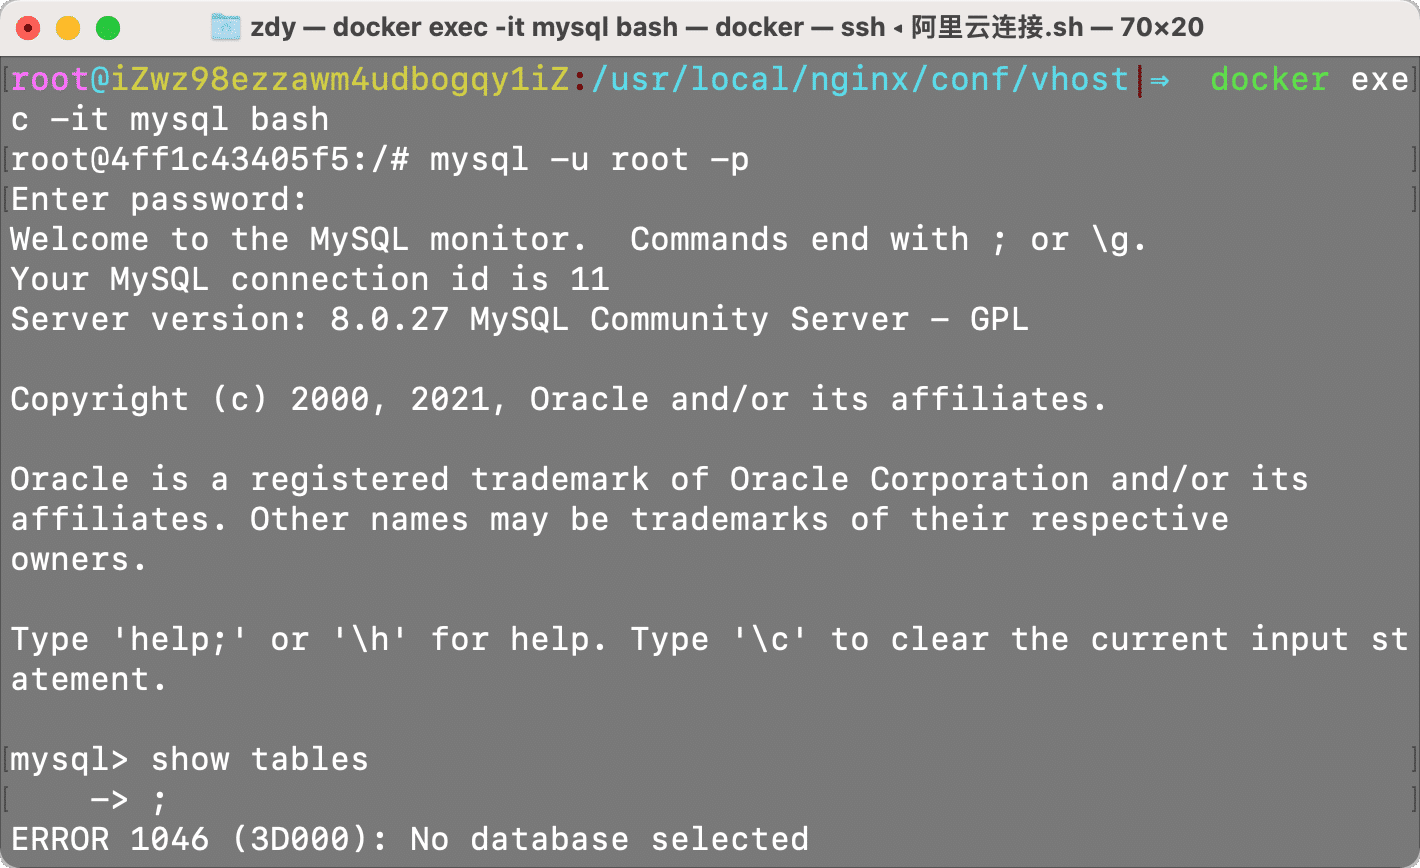
到这里就差不多结束啦, 有什么不懂得可以给在下方给我留言